
Delete command
YouTube: https://youtu.be/IwSuIE9dED8
In the previous post I mentioned how to check if the geometry division worked correctly. For this purpose, we used the Edit | Delete command.
Of course, the use of this command is different, as the name implies is used to delete geometry (or toolpaths).
Choose Edit | Delete.
Now on the command line we have the DELETE: Select. This means that we must indicate the geometry to be removed. Geometries can be selected individually – select one and confirm the Delete command. We can select several geometries by clicking on each of them (we do not need to hold the Ctrl key here) and then, as we select all the geometry we want to delete, we approve the Delete command. We can also drag the cursor, with pressed LMB, over the geometries that we want to delete and confirm the command. We can also click the All button on the command line.
Commands in Alphacam are confirmed by clicking RMB, the Esc key or the Finish (ESC) button on the command line.
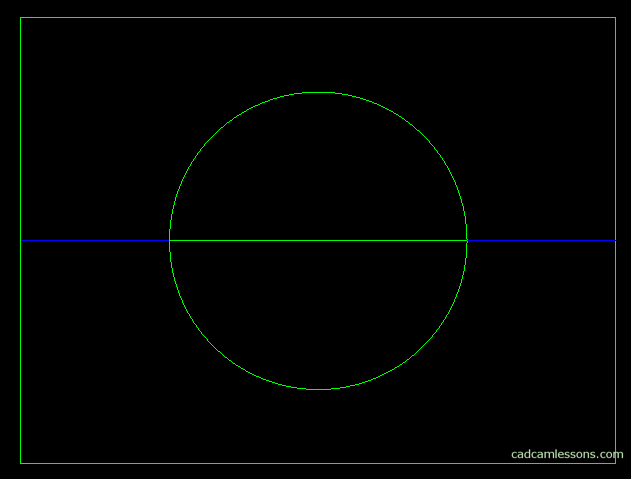
Select the two lines that we have from the division.
Click RMB to confirm the selection and then in the window that appears click OK to accept.
To practice, let’s remove the line that remained in the circle.
If you find my tutorials helpful, you can support CADCAMLessons:
https://ko-fi.com/cadcamlessons