If you find my tutorials helpful, you can support CADCAMLessons:
https://ko-fi.com/cadcamlessons
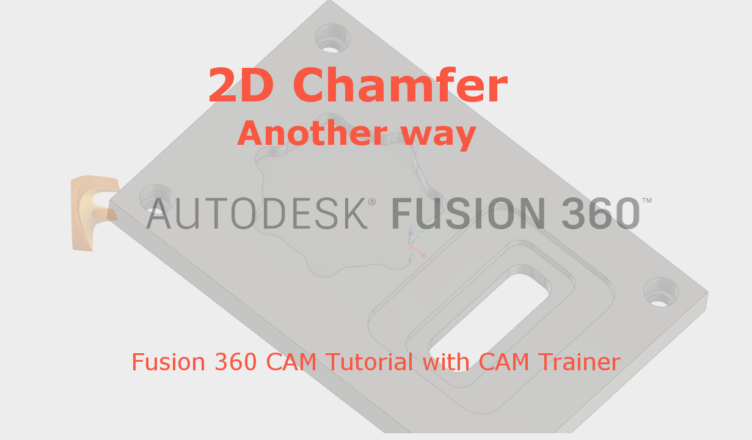
2D Chamfer Fusion 360 – Another way
In the previous post, we discussed chamfering using the 2D Chamfer operation. Another way to do chamfers is to use 2D Contour operation.
From the 2D menu, select the 2D Contour operation. Select the chamfering tool. Go to the Geometry tab and select four circles.

Using the chamfer tool, you do not have to specify the milling depths in the Heights tab. It is enough that in the Bottom Height section, the Selected contour (s) option is selected in the From parameter. The milling depth will be calculated based on the parameters specified in the next tab.

Let’s go to the Passes tab. We see the Chamfer section there, with the parameters we learned in the chamfering operation – 2D Chamfer.

We can click OK to calculate the tool path or we can go to the Linking tab to specify the tool input and output.

One of the advantages of this solution is that we can perform chamfering with the helical entry. I use this solution when making chamfers in holes, especially with quite small diameters. It works quite well. Especially when in one operation, we chamfer holes of different diameters. Small, where the tool has little space, as well as large, where this helix is not necessary. Why so? Working with single parts, I care about the least possible operation for later editing. Often in such cases the programming time can be close to the machining time, or even longer. That is why the fewer places you can make the mistake the better.

In the case of series machining, such a chamfering process can be a waste of time. There, small holes would be chamfered (in most cases) by a drilling operation. In the case of serial machining it is worth spending more time over the program to make machining time shorter.