If you find my tutorials helpful, you can support CADCAMLessons:
https://ko-fi.com/cadcamlessons
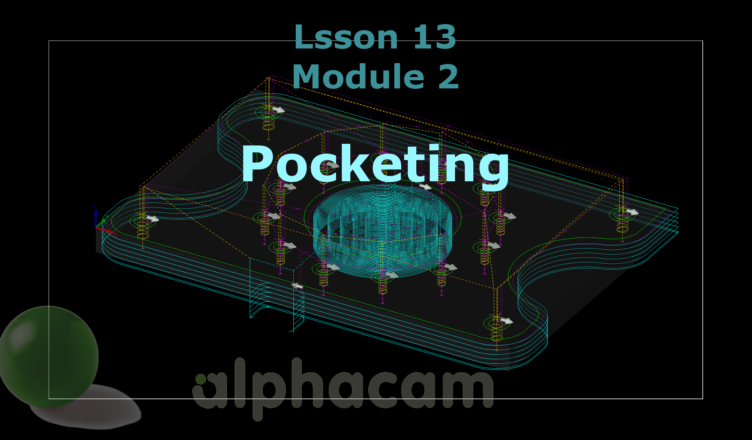
Pocketing – Alphacam Tutorial – Lesson 13
For pocket machining we will use the same tool that we used for machining contours. So we don’t have to choose a tool anymore, we can choose Pocketing from the Machine tab.

Pocket machining removes material from the interior of the closed geometry.

Similarly to machining contours, select the Vertical and Selected options.
Let’s move to the General tab.

Here, select the Type = Contour. We don’t have any islands but leave the Final Pass Around the Islands = Full. And the Start Cutting at = Inside the pocket.
Let’s move to the Levels and Cuts tab.

Parameters from contour machining have been saved and as a Safe Rapid Level we can leave 25, as a Rapid Down To we leave 5, as the Material Top leave 0 and as the Final Depth leave -18.
Let’s change the Number of Cuts to 18 and select the Equal option in the Depths of Cut section so that all passes are the same depth in the Z axis.

Go to the Machining Data tab and enter 1 mm in the Stock to be Left, this will leave a 1 mm allowance for finishing. Later we will remove this allowance by machining contours.
The Width of Cut parameter is responsible for the side step, i.e. the distance between successive passes in the XY axis. Let’s enter here 8.
Click OK and select the large circle. The cutting width is the distance between these transitions in the top view.

In the next lesson we will run the simulation to see how these machinig look like.
YouTube: https://youtu.be/x8Sv75Lpt98