If you find my tutorials helpful, you can support CADCAMLessons:
https://ko-fi.com/cadcamlessons
SolidWorks Tutorial #1 – Start Sketch
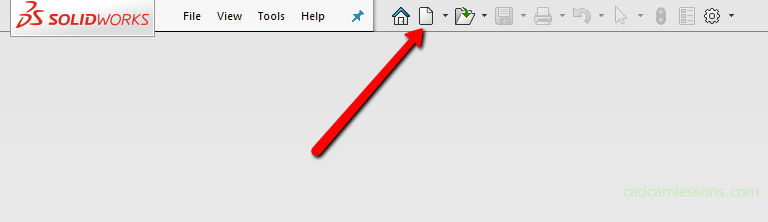
After starting SolidWorks we have such an initial window and we can start with creating a new part, a new assembly or a new drawing.
Click this button.
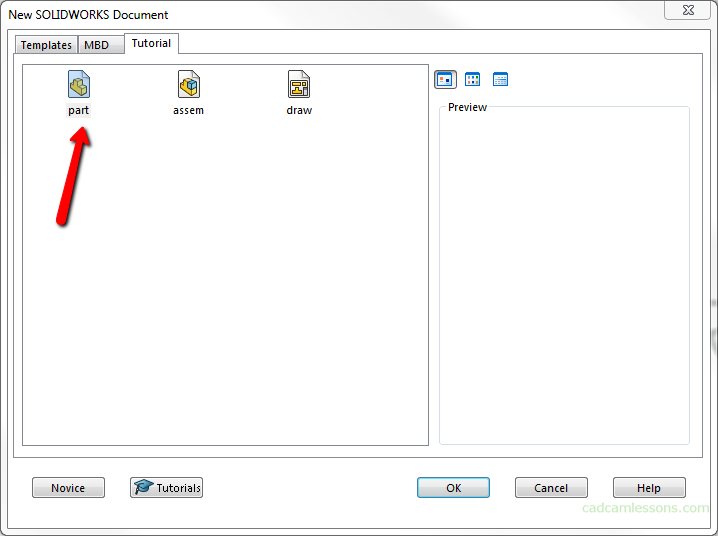
We’ll start with creating a new part so double click this button with the left mouse button or select this option and click OK.
And at the beginning we will create a simple block, but despite its simplicity, it will allow you to learn the basic SolidWorks commands and work methodology, at least at this initial stage of learning this software.
To create a solid, we must begin by creating a sketch. And to start sketching, go to the Sketch tab and click the Sketch button.
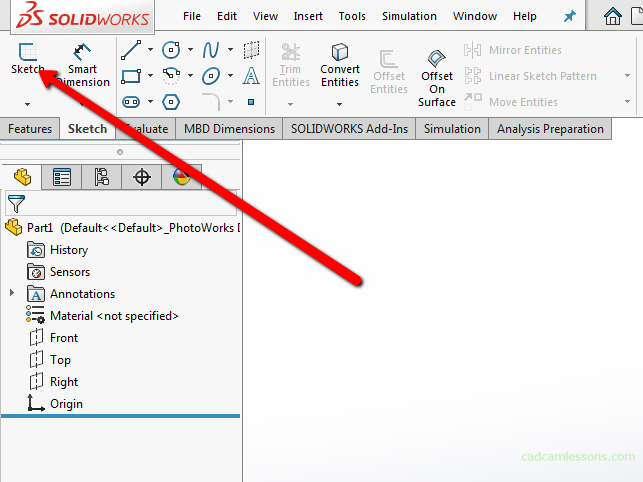
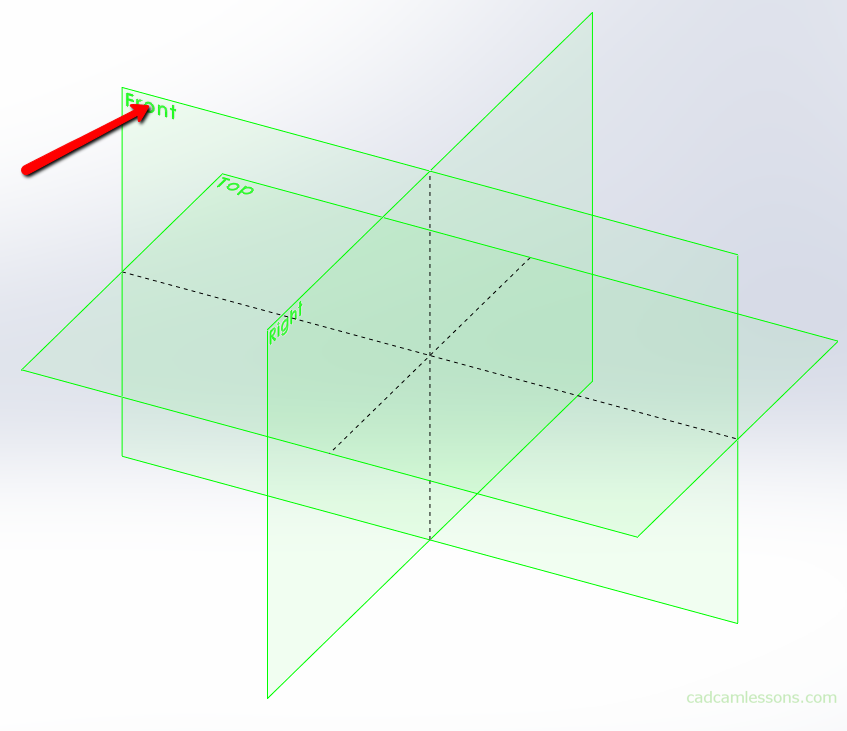
Now we need to choose the plane on which to create the sketch.
If you press the roller in the mouse and move the mouse, the view will rotate a little. In this way, we will also rotate the geometry in the work area.
We have here three initial planes on which we can create a sketch. Front plane, right plane and top plane.
Let’s choose the front plane.
And we can start sketching.