
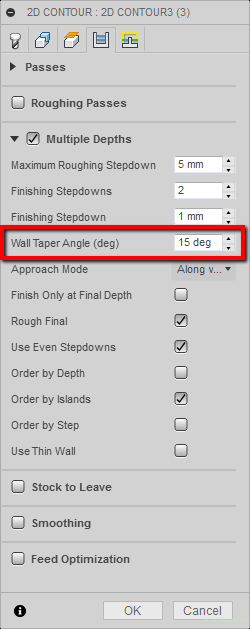
Wall Taper Angle Fusion 360
If we would like to mill the wall and give it a tilt, we can use the Wall Taper Angle option.
The tool path will look like this.

It is clear that the tool path is farther away from the workpiece and we can assume that we will get a tilted wall at an angle of 15 degrees. Of course, we must remember that we have quite a big step here in the Z-axis and we will get something like stairs.
We may wonder what this option is for, since in the era of CAD/CAM systems, we can very quickly edit the 3D model and model the wall and get the slope directly from the 3D model.
Sometimes you just do not have time to edit the model, and you have to make a change quickly. Sometimes you have to add such a slope without editing the model, e.g. to gradually move the tool away from the workpiece.
For example, when we get 2D documentation, where we have several holes and non-standard chamfers on these holes. We do not need to specifically create a 3D model for this. CAM systems usually allow you to load a 2D CAD file or simply draw basic geometries. Then we need a top view and the option to generate the tool path as if the wall was tilted.
There are specific situations in which this option can help and save some time, so you should at least know about its existence.
If you find my tutorials helpful, you can support CADCAMLessons:
https://ko-fi.com/cadcamlessons