INTERSECTION of Snap and Break geometry
YouTube: https://youtu.be/zZIkFIxKy64
In this post I want to show two more Alphacam functions. Break geometry and snap INTERSECTION of.
Suppose we want to draw a circle in this place:
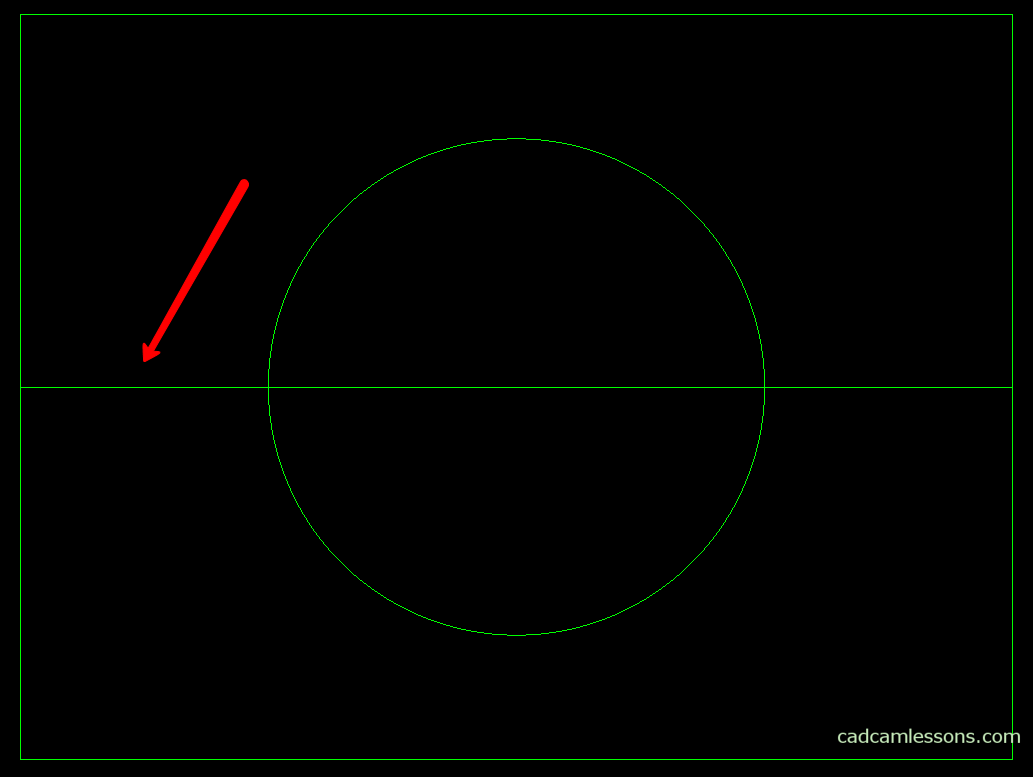
So, in the middle of the segment between the side of the rectangle and the circle. At this point, we can not use any handle there because it is one line. But if we divide it into smaller lines and we get a line from the side of the rectangle to the circle, then we can use the snap MID-point of.
To divide the line, select Edit | Break.
The following window will appear:
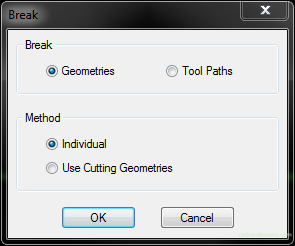
Click OK.
Now on the command line we have: BREAK: Pick Break Point on Geometry. We want to divide the line at the point of its intersection with the circle. If we try to move the cursor over a point in the division point, nothing will happen. No snap will be highlighted and we will not do it exactly.
But as you’ve noticed, in the geometry editing commands, the snaps are also active. Select the INTERSECTION of snap (fifth from left) and now we need to indicate the geometry you want to divide. Click on the line near the dividing point.
Next, we have to indicate the second geometry that would cut the geometry to be split. Now, when we are near the division point on the circle, a snap will appear informing us of the division point. Click on the circle near the split point. The line has already been divided.
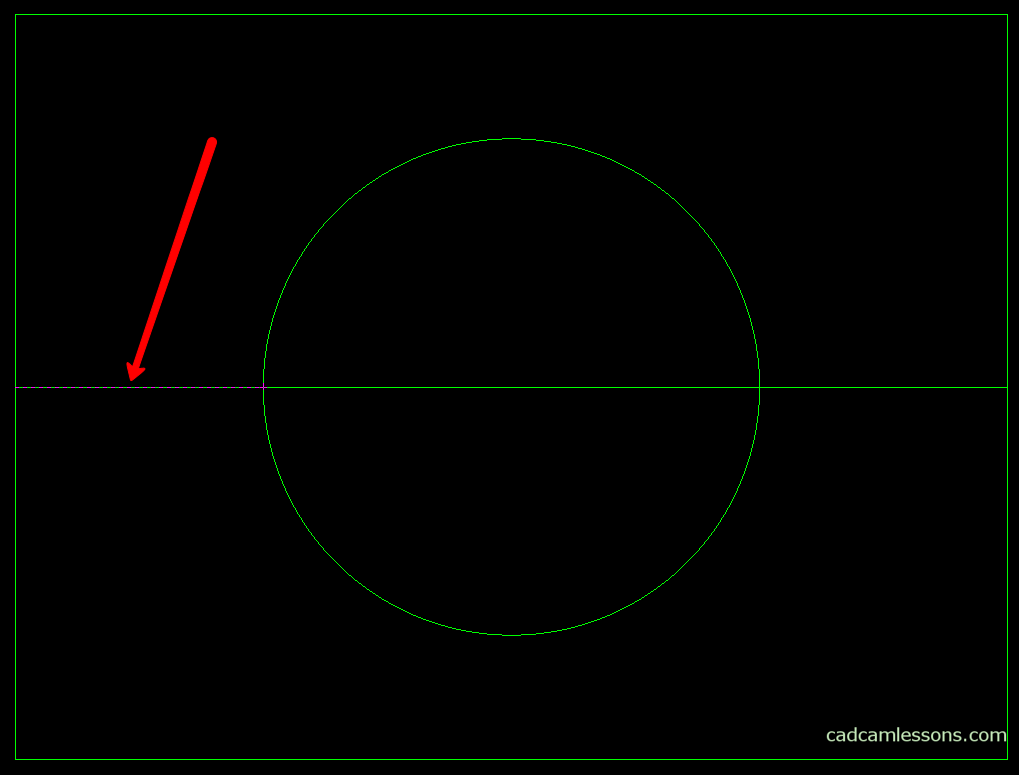
But how to check it?
One of the methods I use in such situations is to activate the Edit | Delete command. After activating this command as you hover over some geometry it will be highlighted with a dashed line and this dashed line means one, all geometry.
We can do the same with the line lying on the other side of the rectangle.
We now have separate lines and we can use their center to draw more circles.
In one of the next posts I will show another way to get such lines and the action of the next snap.
If you find my tutorials helpful, you can support CADCAMLessons:
https://ko-fi.com/cadcamlessons