
MID-point of Snap in Alphacam
YouTube: https://youtu.be/hwiLi3gCC7g
We have already learned ways to draw some basic geometry in Alphacam. The next one will be discussed in the meantime while working on an example. And now we’ll get to know the functions that make Alphacam a lot easier. These are Snaps.
The Snaps are activated when drawing or editing geometry.
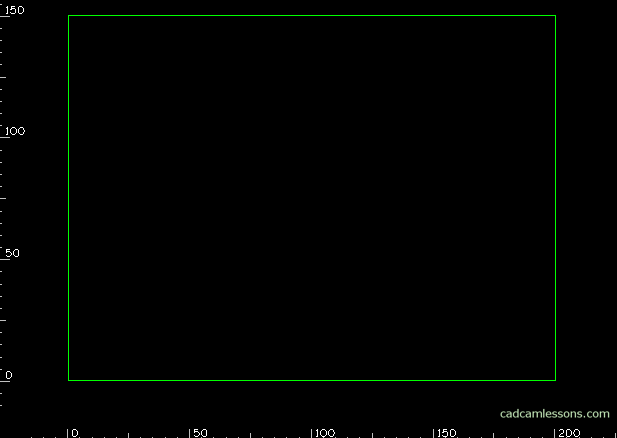
At the beginning, draw a rectangle with dimensions of 200 x 150.
Choose Geometry | Rectangle. As the first corner, enter X 0 Y 0, second X 200 Y 150.
We have a rectangle drawn. Now we draw a line with the beginning in the middle of one of the shorter sides and the end in the middle of the other of the shorter sides.
We can do this by drawing a line with the coordinates of the first point X 0 Y 75 and the second point X 200 Y 75. Drawing such a line in the case of this simple geometry should not be a problem. It would be worse if we did not have such “equal” dimensions.
In this case, one of the Snaps – the MID-point of can be a convenience.
Choose Geometry | Line. The line drawing command will be activated, and on the command line next to the place where we can enter the coordinates of the line points are Snaps.

Instead of entering coordinates, select the MID-point of snap.
Now place the cursor on one of the short sides of the rectangle and you will see a white dot in the middle of the line. It is a symbol of the snap and it means that when you click on the indicated line, geometry will be drawn from this place.

Click on the indicated line (you do not even have to click near the center of the line, just click on the line and Alphacam finds the center). And as you can see, the beginning of the line was hooked to the center of the side of the rectangle. Now click the MID-point of snap again and point to the other side of the rectangle. Finish drawing by clicking RMB.

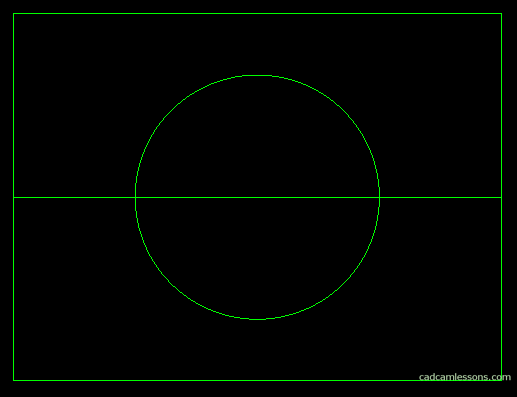
We have already drawn a line with the beginning and the end in the center of the sides of the rectangle.
Now draw a circle with a diameter of 100 in the middle of the newly drawn line.
Choose Geometry | Circle | Center + Diameter. Enter 100 as the diameter and select the MID-point of snap to specify the center of the circle and indicate the newly drawn line.
Before we continue, save the drawing. Choose File | Save as, specify the file name and indicate the location where you save the file.
We will use this file to discuss the next Alphacam functions.
If you find my tutorials helpful, you can support CADCAMLessons:
https://ko-fi.com/cadcamlessons