
Line in DraftSight
We begin a series of DraftSight tutorials. DraftSight is a 2D CAD.
In first DraftSight lesson we will discuss a Line command.
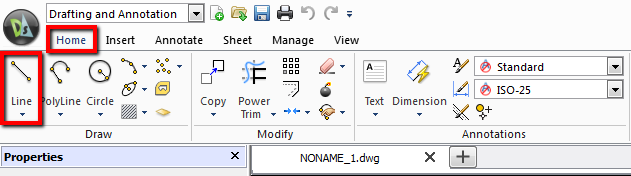
To draw a line in DraftSight you have to select Line option from the Home Tab.
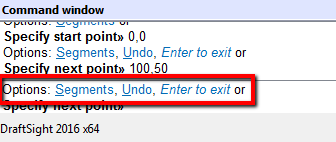
After you select Line command, in the command window you will be prompted to specify the starting point.
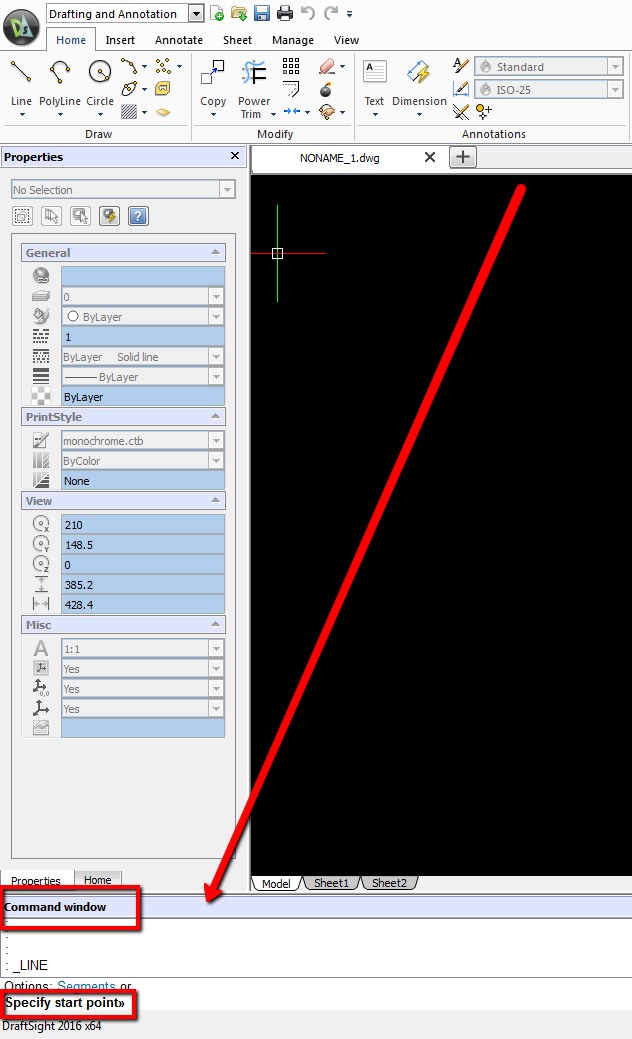
You can click left mouse button in the DraftSight workspace or enter the XY coordinates in Command window.
Let’s enter the XY coordinates. Type 0,0.
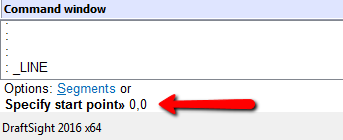
Accept by clicking Enter.
After that you will be prompted to specify next point. Type 100,50.
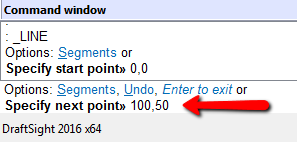
Click Enter.
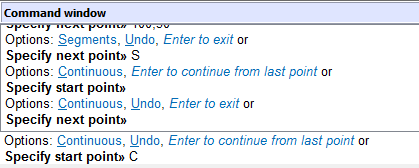
You can specify next position, and so on.
Let’s see the options.
If you type ‘S’ you will change the line from continuous to segments and you will be drawing an individual sections.
To go back to the drawing a continuous line type ‘C’.
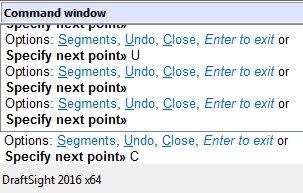
If you enter ‘U’, you undo the last section.
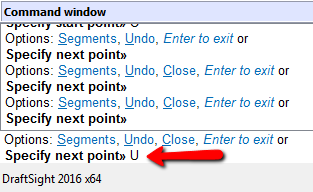
If you enter ‘C’ you close the geometry.
Please see the video on YouTube!
If you find my tutorials helpful, you can support CADCAMLessons:
https://ko-fi.com/cadcamlessons