If you find my tutorials helpful, you can support CADCAMLessons:
https://ko-fi.com/cadcamlessons
Extruded Cut – SolidWorks Tutorial #4
Another basic operation in 3D CAD systems is the operation Extruded Cut.
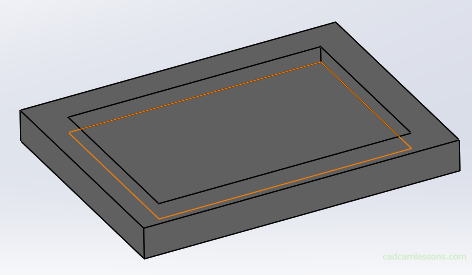
I would like to receive a rectangular pocket on top face of the rectangle. So at the beginning we will create another rectangle.
To create a sketch on this face, select it and choose Sketch.
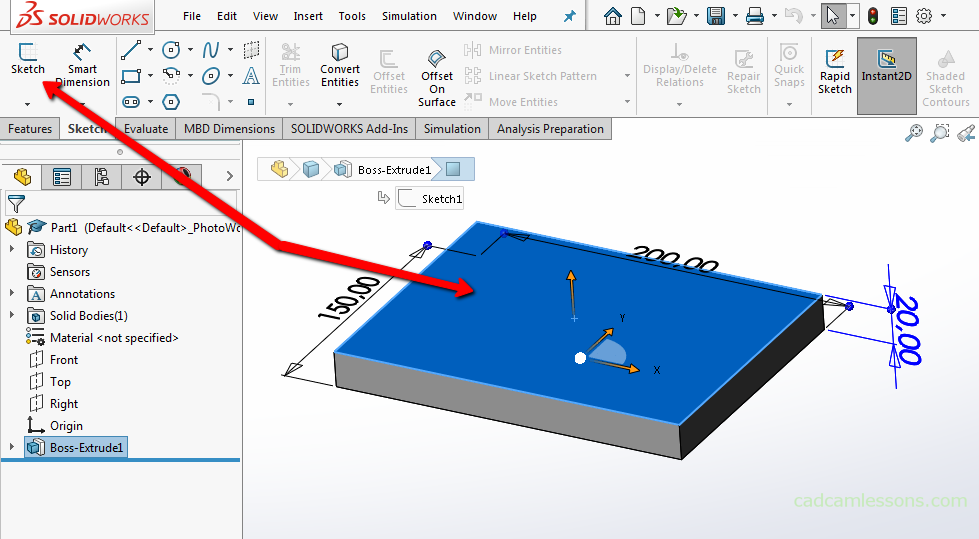
Now the plane of the sketch is the face of the solid.
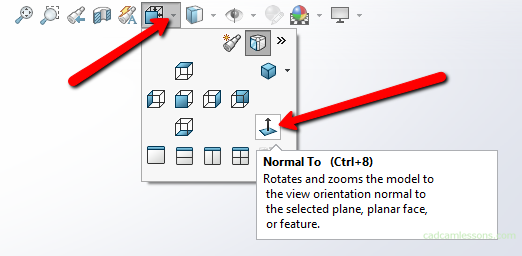
We can make things a little easier and set normal view. Let’s choose this option and choose Normal to.
Let’s draw any rectangle on selected wall.
And now we will dimension this rectangle so that each edge is offset 20 mm inward from the edge of this larger rectangle.
We will do it the easiest way. So let’s choose the Smart dimension and select line of the smaller rectangle and line of the bigger rectangle and enter dimension the distance between the edges.

The sketch is ready. Let’s accept the sketch and select the Extrude Cut feature.
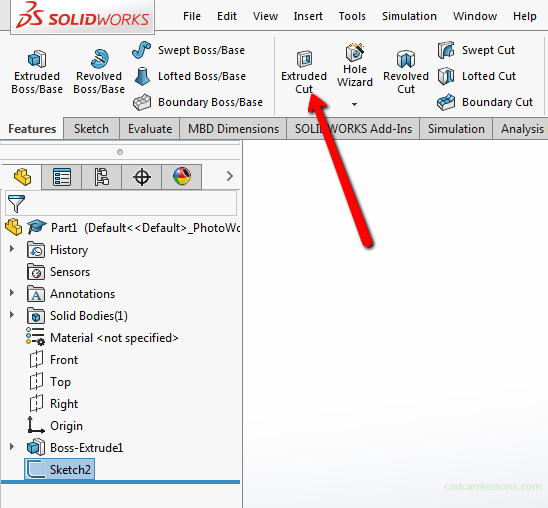
And enter 10 mm as the depth of this cut and accept.
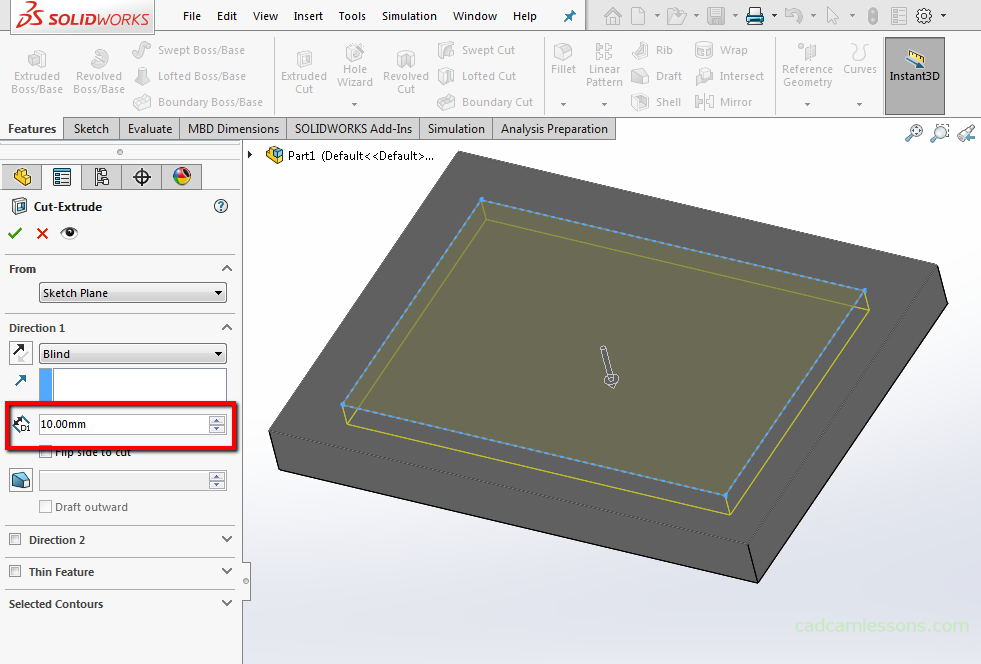
And in this way we have received pocket geometry here.