Simple 2.5D Machining – Alphacam Tutorial – Lesson 1
YouTube: https://youtu.be/k8CibSrp1vE
In this lesson and few next we will draw simple geometry. After that we will use this geometry to machine.
Start the Alphacam and from Geometry Tab select Rectangle command
At the bottom of the Alphacam window is command line.
Commad Pick First Corner, pick point from Alphacam workspace or type XY coordinates. For the first point we will use X0Y0. Select OK by left mouse button (LMB).
Now, we have to Pick Second Corner. Type X400 Y200, and click OK.
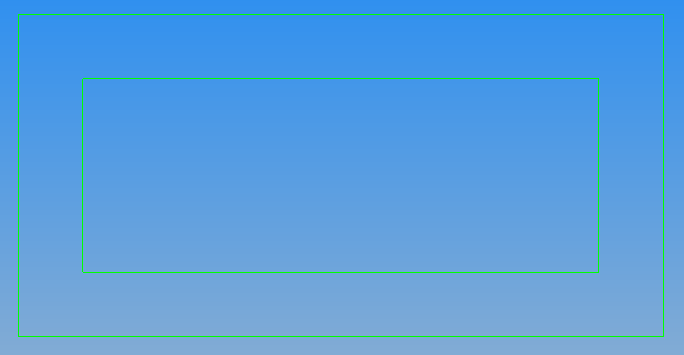
We will get rectangle.
Now, let’s create internal pocket.
Again, use Rectangle command from Geometry Tab.
For the first point type X40 Y40, and for the second point type X360 Y160.
We should get second rectangle inside the first rectangle.
Let’s draw four rectangles to drilling and helical milling.
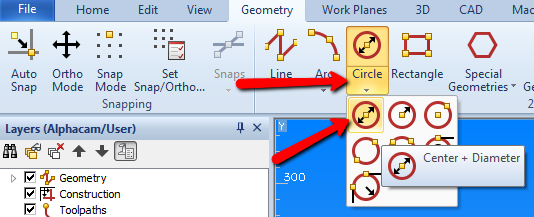
Expand the menu below Circle command from Geometry Tab and select Center + Diameter command.
We are going to draw eight circles.
First, we have to specify Circle Diameter.
Type 9 and click OK.
Now, we have to specify Circle Center.
Type X25 Y25 and click OK.
The Center + Diameter command is still active. Accept Circle Diameter = 9 by clicking OK, and type coordinates of the new circle X25 Y175, click OK.
Next, accept the diameter = 9 and type new coordinates X375 Y175, click OK.
And again, accept diameter = 9 and type X375 Y25, click OK.
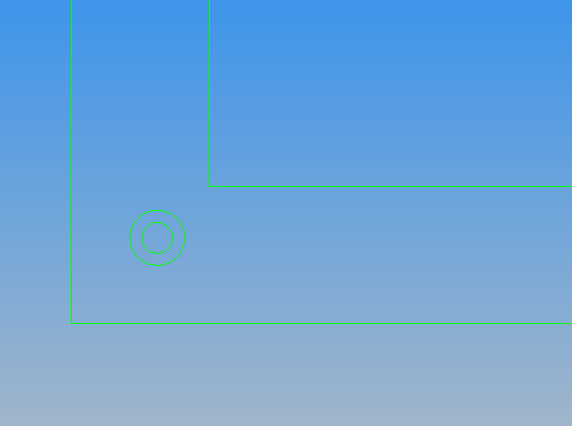
We should get:
We have four circles, command is still active. Change diameter to 16.
Click OK.
Now, we have to specify circle’s coordinates. We can type X and Y values or use snap to put circle’s center in the proper place.
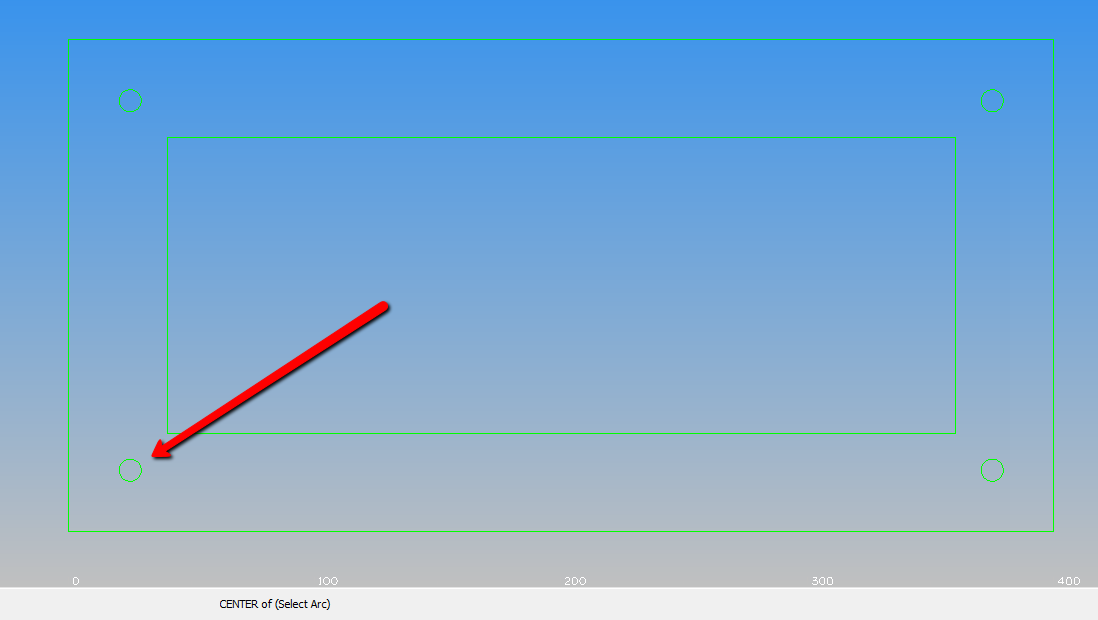
Use the snap Arc CENTER. Select this snap by LMB.
And select first circle.
Click LMB on circle. Snap will appear.
And we will get new circle with the same center as first circle.
Repeat this with all circles to get:
Watch the video below!
If you find my tutorials helpful, you can support CADCAMLessons:
https://ko-fi.com/cadcamlessons
