Alphacam Basics – Project Manager – Layers – lesson 21
Alphacam Basics – Project Manager – Layers – lesson 21

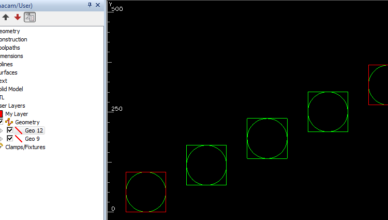
Layers (Alphacam/User) – First page from Project Manager All elements from the Alphacam workspace you can found in the Layers page. If you want to find a specific geometry on the layers page, you can click the binoculars icon. It is very useful when you have many elements in your drawing. Then, in the workspace…

Alphacam Basics – Geometry to construction  – lesson 20

|

Alphacam Basics – Geometry to construction – lesson 20

How to change Alphacam ‘green’ geometry to construction – way 1 The first way to change the ‘standard’ geometry to construction geometry is moving geometry from Geometry layer to Construction layer using drag and drop method. This is very easy when we have small amount of geometries. When we have complex drawing with many geometries…

Alphacam Basics – Construction geometry – lesson 19
|

Alphacam Basics – Construction geometry – lesson 19

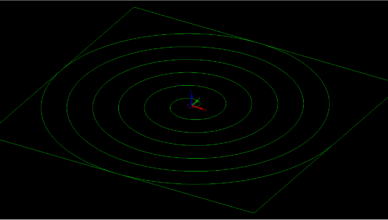
Construction geometry in Alphacam This command allows us to create auxiliary geometries. This geometries can be created using all of the same tools located in the Geometry Tab and you can edit it using options from the Edit Tab but construction geometry can not be machined. Now, when this option is active, all drawn geometries…

Alphacam Basics – Enclosing rectangle – lesson 18
|

Alphacam Basics – Enclosing rectangle – lesson 18

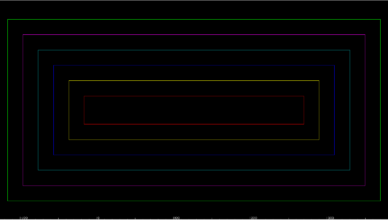
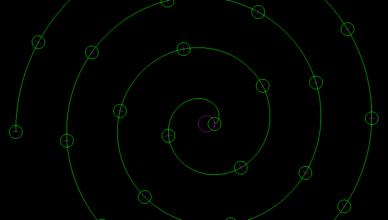
Alphacam Enclosing Rectangle Enclosing Rectangle is another option from Special Geometries. Create any geometry or open the file from the previous lesson. Now select the Enclosing Rectangle and in command line select All. This will select all geometry in the workspace. Accept this by clicking RMB. We received a rectangle enclosing whole geometry. Please see…

Alphacam Basics – Equi Spaced holes – lesson 17
|

Alphacam Basics – Equi Spaced holes – lesson 17

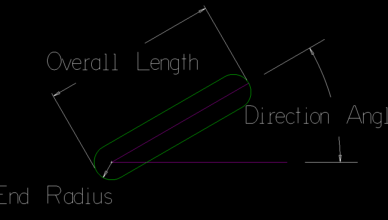
Equi-spaced Holes Along Curve in Alphacam Next option in Special Geometries in Alphacam is Equi-Spaced Holes Along Curve. To activate this option you have to draw some geometry. Let’s draw an involute curve. Now Equi-Spaced Holes Along Curve is active and we can choose this function. We could specify Number of Holes or Approx Interval…

Alphacam Basics – Z levels in first machining – lesson 15
|

Alphacam Basics – Z levels in first machining – lesson 15

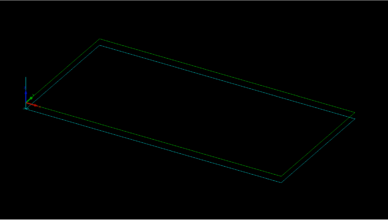
Alphacam Rough or Finish – Contour machining in Alphacam In this lesson we will discuss Z levels form Levels and Cuts Tab from Rough or Finish operation. This operation will allws us to machine Alphacam geometries eg. Lines or rectangles… This produce tool path along the contour. Let’s check the Z Levels from Levels and Cuts Tab Safe Rapid Level The Z level that the tool can safely traverse the machining area at a rapid speed. Rapid Down To The Z level that the tool can move down to at a rapid speed. Material Top The Z level of the top of the material to be machined. Final Depth The Z level at which the tool will make its final pass. In the video you will get more information. Please see the video on YouTube!

Alphacam Basics – Involute curve – lesson 14
|

Alphacam Basics – Involute curve – lesson 14

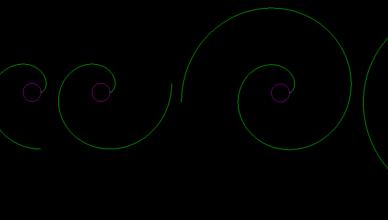
Involute curve in Alphacam Alphacam tutorial for Beginners After selecting this option you can determine: Base Circle Diameter – this circle is used to create involute curve, Number of Quadrants that are drawn to create involute curve. You can enter XY coordinates of base circle or click whenever you want in the Alphacam workspace. Some examples below: Example 1: Example 2: Example 3: Example 4: Example 5: Example 6: All together: Please see the video on YouTube!