If you find my tutorials helpful, you can support CADCAMLessons:
https://ko-fi.com/cadcamlessons
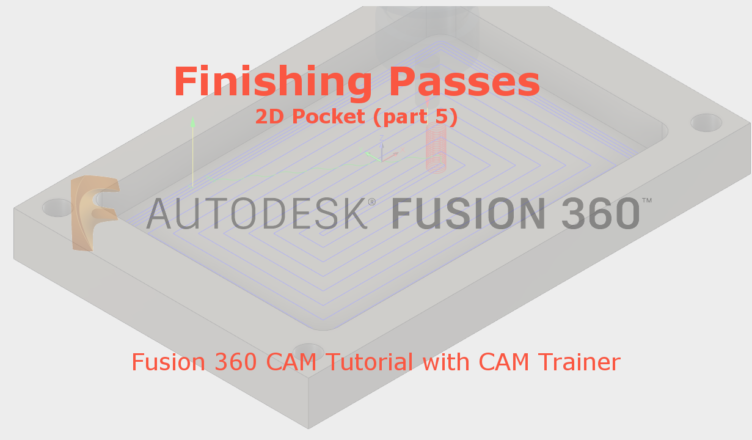
Finishing Passes in 2D Pocket Fusion 360
When in the Passes tab in the 2D Pocket operation, the Finishing Passes option is selected, a few new parameters will appear there.

Compensation Type option works similar to contour machining and we have discussed it before.
Here, after selecting the Finishing Passes option, the contour machining with defined parameters will be added to the machining of the pocket.
The Sideways Compensation option will also appear, which is responsible for the compensation of the tool radius.
The Number of Finishing Passes option will determine the number of additional finishing passes.
The Stepover option will determine the distance between finishing passes.
The Leads on all Finishing Passes option will add the tool input and output for all finishing passes.
Finish Feedrate determines the feed rate for finishing passes.
Checking the Repeat Finishing Pass option will repeat the last finishing pass so that it will “superfinish” the machined wall.
Finishing Overlap is a parameter that causes the tool’s exit point from the material will be shifted by the entered value from the tool’s entry point into the material.
For example, after setting the parameters as in the drawing below.

We will get the tool path as in the drawing below.

Is it worth using finishing transitions in pocket processing?
Here, as in many cases, the answer is – it depends.
Often typical 2D pockets are machined in several Z-axis passes, then each such pass will be marked on the wall. If you want to avoid this, you can leave a small finishing allowance and apply one finishing pass at full depth. In addition to this finishing pass, it can use a different feed value, which can also affect the surface finish.
But all the time we must remember that the finishing pass will be made with the same tool as the entire pocket machining. So if we want to work in this way, we must use a tool with a radius less than or equal to the radius that occurs in the geometry (in this case in the corners of the pocket).
A better solution would be to machine the pocket with a larger milling cutter. Leaving a small allowance on the walls. And then finish it with a smaller tool. I use this option more often. Then if the dimensions of the pocket (length and width) are tolerated, we can get these dimensions easier. We enable the compensation for the tool that machines the contour of the pocket and adjust the machining on the machine by controlling the compensation value.
The other sections: Multiple Depths, Stock to Leave, Smoothing and Feed Optimization have the same parameters as for contour machining and have been discussed before.